Follow the snowflake
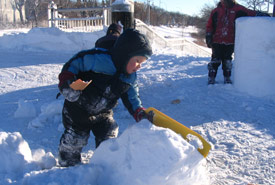
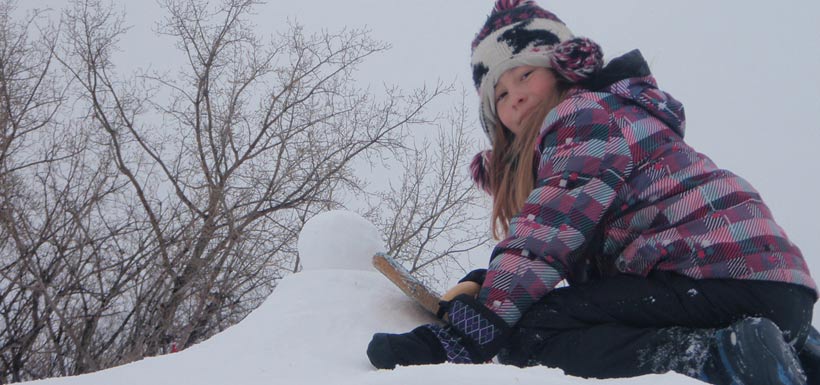
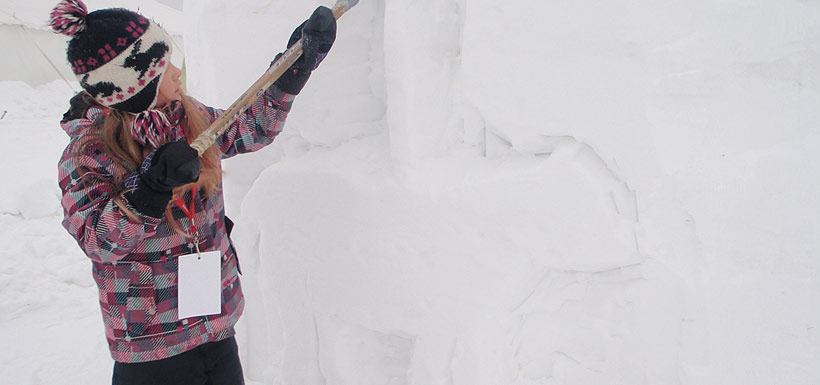
Child carving snow (Photo by Jodine Pratt/NCC)
Snow carving is a great way to get outdoors and enjoy the colder weather. Most people begin snow carving as I did: by loving to tunnel in the winter as a kid. Then, never really growing up, they try a local snow carving competition.
Just as some people like to follow the sun, snow carvers follow the snow and travel the circuit to carving events around the world. A team of carvers will meet and create a sculpture from a block of snow, working together with the wind and sun that are also eroding the snow. It is both a love of the hard physical work of shovelling and moving a ton of snow and the hours of quietly making more detailed shapes, sanding and polishing.
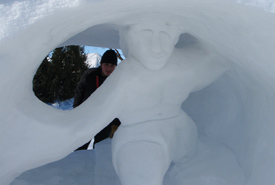
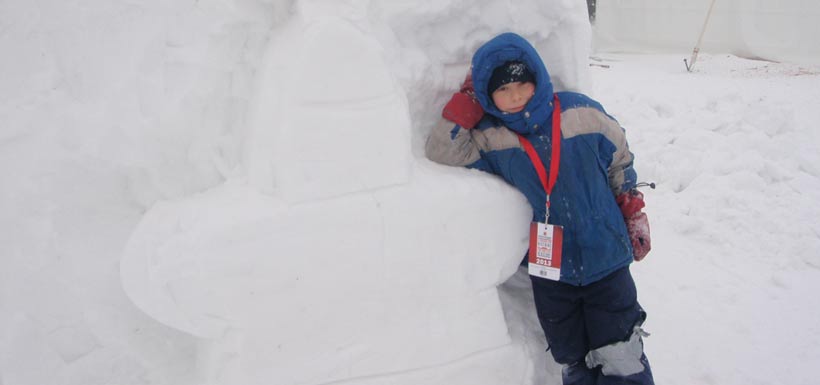
"Surfer" inside a big wave and my older son Colten (Photo by Jodine Pratt/NCC staff)
There is nothing as beautiful as being outside all day, dressed warmly in layers with sun dogs (a pair of bright spots on either side of the sun, created by light interacting with ice crystals in the atmosphere) in the sky and shadows playing on the lines of your snow sculpture.
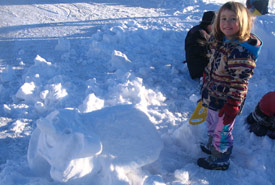
Taza's first "Elephant" (Photo by Jodine Pratt/NCC staff)
Snow carving culture includes a special greeting among carvers: a gentle touch to the elbow rather than shaking hands, as we are usually holding a carving tool. Most snow carving competitions do not allow power tools, so it is very peaceful.
Your first snow carving tools are whatever you can find in the garage or kitchen. With experimentation and some experience you design your own tools, or trade tools with other carvers. If you are lucky you may be gifted a special tool.
Snow sculptures are land art that has no negative impact on the environment and is expressed by people interacting with their surroundings. This is an art form that is not meant to last, and some pieces may even be designed to move into other shapes as the sculpture melts.
Snow sculpting connects a gentle human touch with the worldwide water cycle.
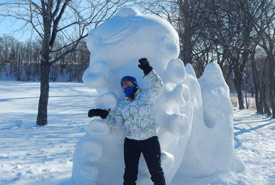
Daughter Solana and “Caterpillar” in 2015 (Photo by Jodine Pratt/NCC staff)
Follow one snowflake: it is gathered with other snowflakes to make snow, which is then formed into a block. Shaped by sun, wind and a team of carvers, this carving melts, runs into a river and eventually evaporates back into the clouds.
The water from that snowflake may travel around the world and fall again as a snowflake in another place. There it may be sculpted into something else, maybe a Poweshiek skipperling on a flower, created by another team of snow carvers. The snow sculptors mimic the snowflakes, travelling and reforming into different teams all over the world.
This is a winter activity that is threatened by climate change. When engaging youth and other groups in the art of snow carving, it is a great opportunity to discuss the impact of our changing climate on our ecosystems and the Earth. Through hands-on workshops on snow carving, we can offer opportunities for people to be connected to the beauty of natural places in winter and to recognize our own roles in the balance of nature.
Six tips for snow carving
Making a snow block
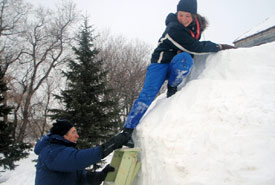
Grandpa Len is helping Solana on the ladder (Photo by Jodine Pratt/NCC staff)
Shovel clean snow into a large cardboard box or make a form using wood with removable bands, straps or rope. Stomp the snow down layer by layer to compress the snowflakes. Leave it — the snowflakes will re-crystalize and harden into a block. Let it set at least overnight for a small block or for a few weeks for a large one. Most snow blocks are made a few weeks in advance of carving.
If the weather stays cold, you soon have a beautiful snow block; if it is too warm, watch out for collapsing snow. Remove the form and start carving!
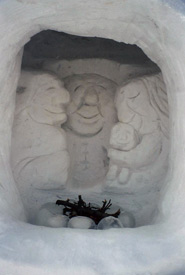
A carving depicting a happy little family inside a snow house sitting by a fire. We used frozen water-filled balloons to create the fire rocks! (Photo by Jodine Pratt/NCC staff)
Garden and workshop tools can be adapted
Sharpen shovels on an angle so the snow is pushed away from the block. Try chisels, spades, spoons, knives, saws, etc. Be creative with tools. Point tools down; do not throw or drop tools from the top of a block. Tools should not be left on top of ladders or snow blocks. Dry and store your tools so they don’t rust.
No colour needed
What you do not want: a snow block full of dirt, grass and ice chunks. (Photo by Jodine Prat/NCC staff)
Appreciate the beauty of the white snow and use shadows to draw out features of your sculpture. Snow will melt quickly if dirt, grass or other dark objects are embedded in the snow. Colours may impact the natural environment.
Start with a small snow block and develop your skills
Your carving team will evolve as each person finds their area of expertise to contribute. Maybe someone is a tool-maker?
Dress in warm layers
You need good boots (mine are rated for -60 degrees Celsius, have removable liners and rubber soles). Mukluks are great; get ones with a non-slip sole. I recommend real wool socks, extra mittens, neck warmer and a hat.
Some carvers wear a helmet — large falling chunks of snow or a trip from a ladder or snow block can be deadly. Wear sunscreen and winter goggles to protect your face and eyes.
Enjoy a cup of tea or warm soup from a thermos!
Take time to stand back and see how the sculpture is progressing and to enjoy the sun and trees sparking with snow while having a fun day outdoors!
Here are some photos from a contest we entered in 2013. After carving almost every year starting in 2002, our team won first place that year with our snow carving, "Carousel," which features the many diverse ideas and interests of our family.
Click to enlarge the photos in the slideshow below.
-
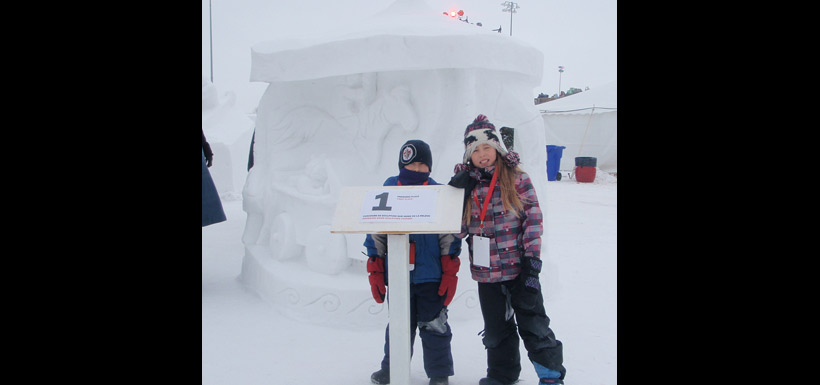
 Click on the image to enlarge."Carousel" (Photo by Jodine Pratt/NCC staff)
 -
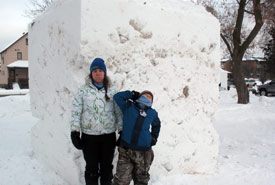
 Click on the image to enlarge.My kids measuring out the cylinder shape (Photo by Jodine Pratt/NCC staff)
 -
 Click on the image to enlarge.Wakinya carved a UFO (Photo by Jodine Pratt/NCC staff)
 -
 Click on the image to enlarge.Taza carving a polar bear (Photo by Jodine Pratt/NCC staff)
 -
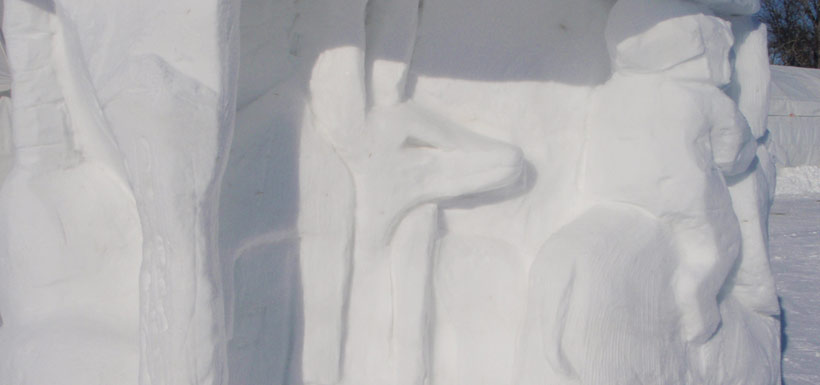 Click on the image to enlarge.Solana's carving of the Egyptian god Anubis (Photo by Jodine Pratt/NCC staff)


About the Author
Jodine Pratt is the former Weston Family Tall Grass Prairie interpreter for the Manitoba Region of the Nature Conservancy of Canada.
