Giving green: A handmade how-to
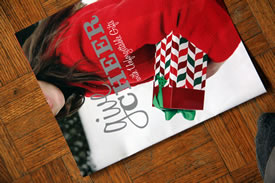
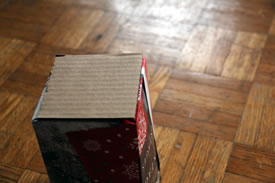
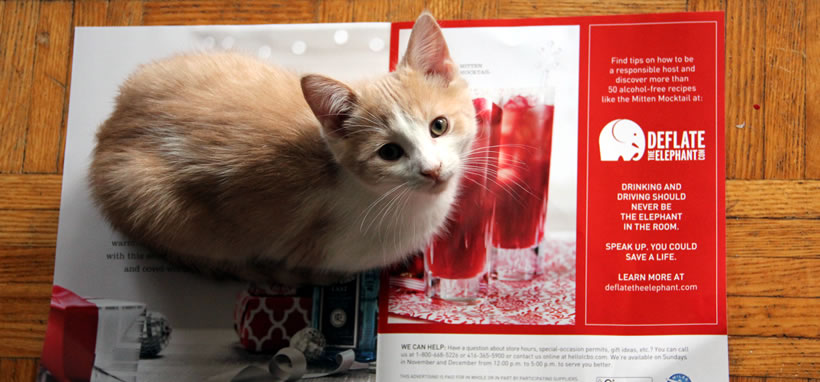
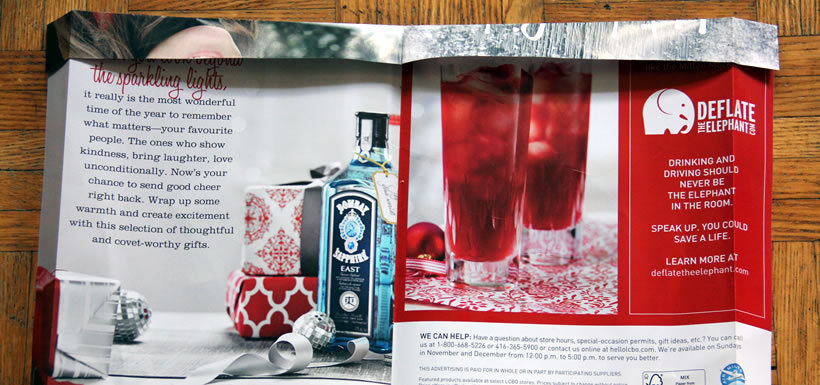
Step 1: Start with a flyer (Photo by NCC)
Need something to put that upcycled gift in? Follow these easy step-by-step instructions to make a gift bag out of a paper flyer.
(Note: A detailed slideshow with larger images is available at the bottom of this story.)
You will need:
- A flyer
- A glue stick
- An old t-shirt
- Scissors
- A holepunch
Step 1
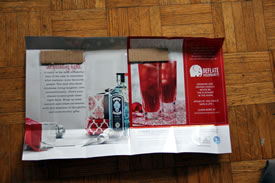
Start with a flyer! Mine was about 17 inches wide and I ended up with a gift bag a little over three-and-a-half inches square. To make a bigger bag I’ve used plain newspaper sheets, but then I’ve glued them together to make it sturdier.
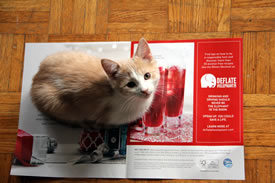
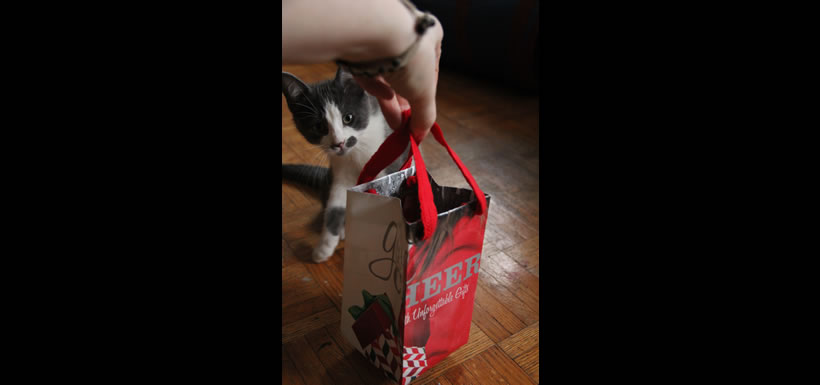
Step 1B: Remove kitten from flyer (Photo by NCC)
Step 1b
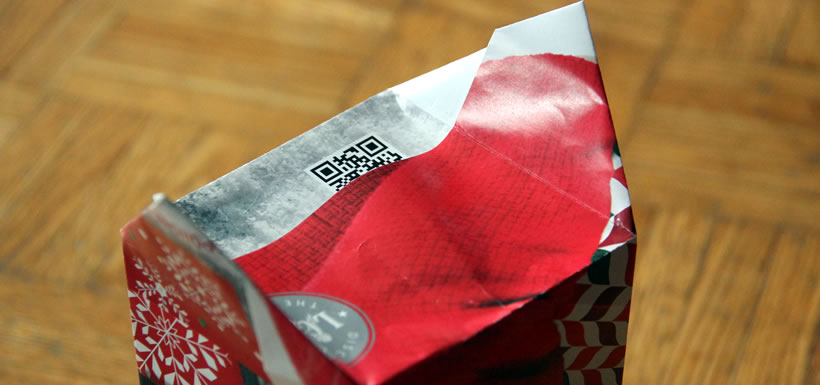
Remove kitten from flyer.
Step 2
Fold the top of the flyer at about an inch and crease well, then do the same with the sides. If you’re concerned about the finished size of your bag, you can reduce the fold to about three-quarters of an inch, but not much more or I’d worry about it coming apart.
Step 2: Fold top and sides of flyer (Photo by NCC)
Lastly, fold the bottom up to make a flap about two-thirds of the shortest side of the bag. If your bottom flap is less than half the length of the flap, they won’t meet in the middle! And you want to add a little extra overlap to make sure it holds and is supportive of the contents. My bag was about three-and-a-half inches square, so the bottom flap was a little over two inches. If you’re making a rectangle that’s two inches by five inches, I would make the bottom flap about an inch and a half to be safe.
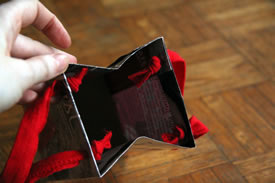
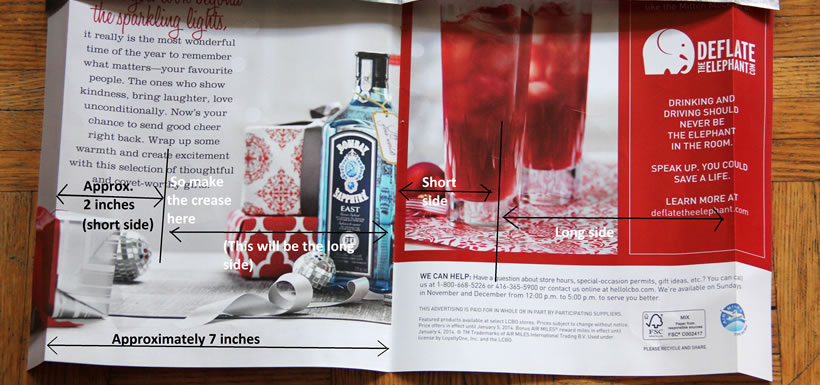
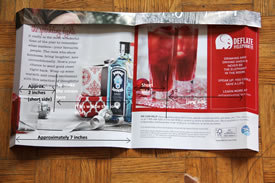
Step 3
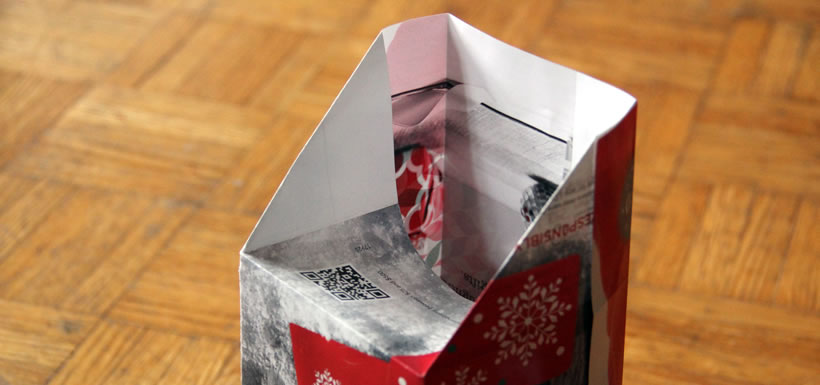
Next fold the flyer in half, which will result in a square bag.* Fold the crease you made on the left side to the centre, and crease well. And do the same with the crease you made on the right.
Step 3: Fold in half (Photo by NCC)
*Note: to get a rectangular bag, just measure instead of folding in half. For example, instead of folding in half to get two three-and-a-half-inch sides, I could fold at two inches and get a bag that’s about two inches by five inches. But remember, to get the right shape, you have to fold the left crease in to make the short side and the right crease in to make the long side. This sounds confusing but hopefully the photo makes it clear.
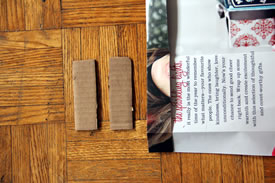
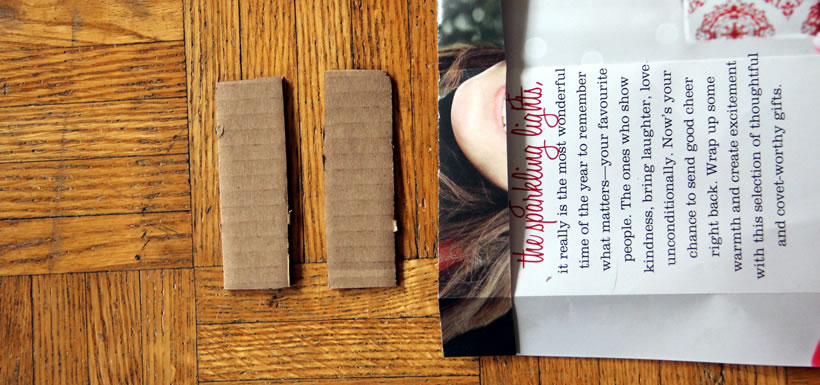
Step 4: Cut two pieces of cardboard (Photo by NCC)
Step 4
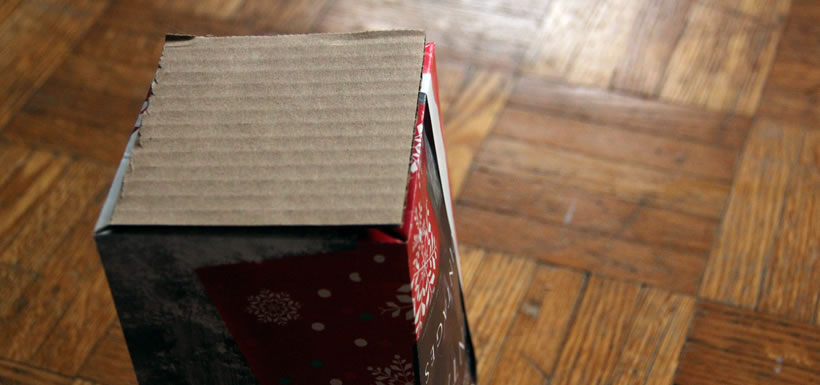
Cut two pieces of cardboard or cardstock. These will provide support for where you put the handles, so if your bag is square they just have to be about a quarter inch sorter than the length of that side. If your bag is a rectangle you’ll probably want these for the longer side.
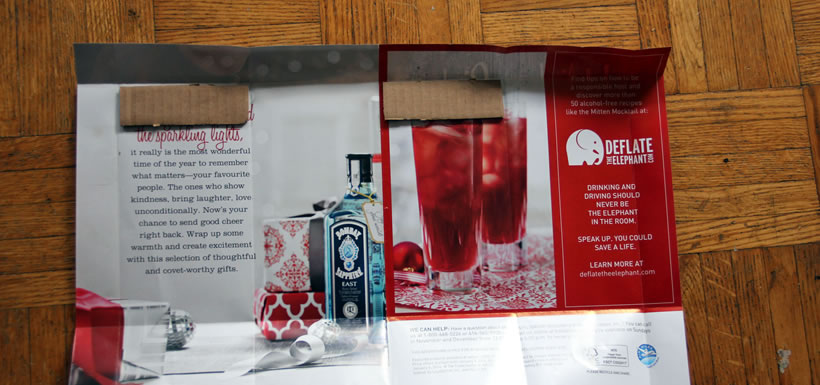
Step 5: Glue the cardboard to the flyer (Photo by NCC)
Step 5
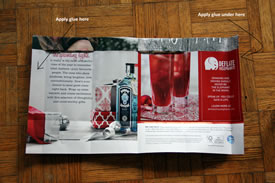
Glue the cardboard to the flyer where the top edge folds, between the creases for the side where the handles will be. I used a gluestick for all the gluing here (though I ran out at the last step so switched to tape). If you’re giving heavy items, you can gluestick everything together then reinforce with tape, though all my gift bags have lasted at least until they were in the recipients’ hands.
Apply glue to the insides of the flap and the cardboard pieces and press down firmly to adhere the papers.
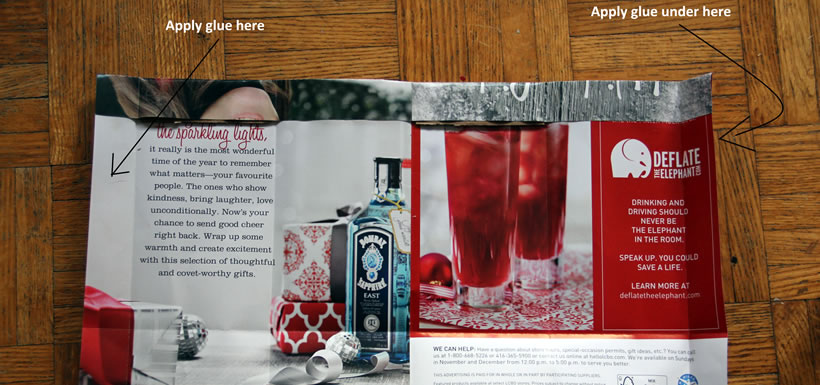
Step 6: Glue side flaps (Photo by NCC)
Step 6
Now we’re going to make it look more like a bag! Apply glue to the side flaps as indicated, so that you’ll have glue everywhere it needs to be.
Then carefully align the sticky ends together so one crease is “inside” the other crease, and you have your square.
Step 7: Make the creases line up here (Photo by NCC)
Step 7
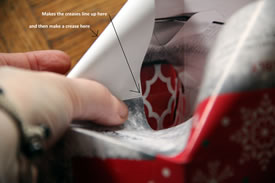
Now we’re going to start making the bottom of the bag. If you’re making a square bag it doesn’t matter which side you use; if you’re making a rectangle use a short side.
Take the side and fold it in towards the inside of the bag so that the creases line up, as shown. Crease that fold and then do the same on the other side.
Next, turn the bag around and do the same on the other side, so you should have two flaps sticking up from opposite sides of the bag.
Glue the flaps and press them down to hold the bottom together.
Step 8: Cut out a cardboard bottom (Photo by NCC)
Step 8
Cut a cardboard square about a quarter-inch smaller than the bottom of your bag.
Glue the cardboard and press it down on the inside of the bottom of the bag. Gluing it inside makes it stronger!
Step 9
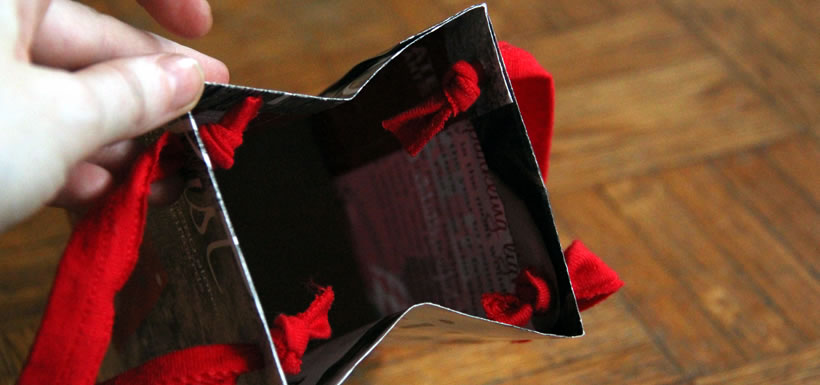
Use a hole-punch to make holes in the top sides you reinforced with cardboard earlier. Try to leave about a quarter inch of cardboard around the hole so it’s stronger.
Step 9: Punch holes and thread in ribbon, then tie knots (Photo by NCC)
Now make your handles. I have a stash of old t-shirts I use for things such as this. I cut the bottom cuff off one, since it’s stronger and not much good for anything else. You can use spare material you have or if you’re making a lot of these just cut up an old t-shirt that was going to go soon anyway. Insert the material about two inches in and tie knots in each end. You may need to double-knot them to make the knot big enough that it won’t pull through the holes.
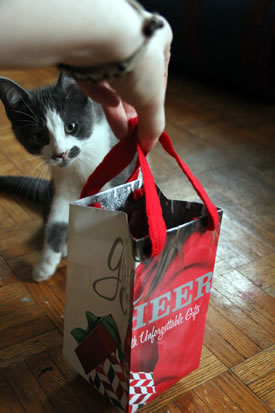
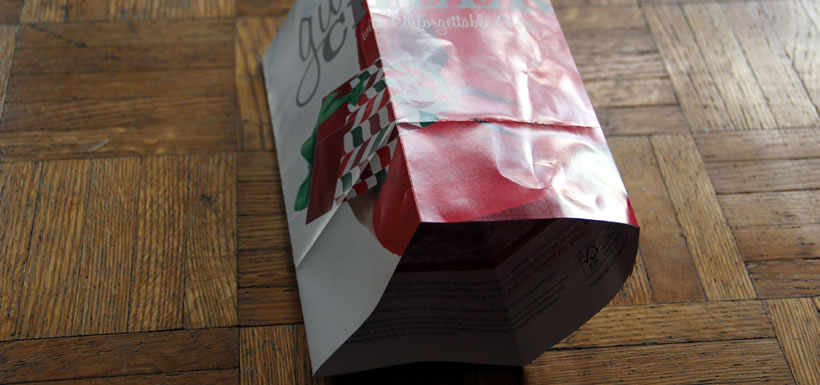
And you're done! (Photo by NCC)
And you’re done! I hope you like your bag as much as the kitten liked mine.
Click on slideshow below to enlarge images with detailed instructions.
-
 Click on the image to enlarge.
 -
 Click on the image to enlarge.
 -
 Click on the image to enlarge.
 -
 Click on the image to enlarge.
 -
 Click on the image to enlarge.
 -
 Click on the image to enlarge.
 -
 Click on the image to enlarge.
 -
 Click on the image to enlarge.
 -
 Click on the image to enlarge.
 -
 Click on the image to enlarge.
 -
 Click on the image to enlarge.
 -
 Click on the image to enlarge.
 -
 Click on the image to enlarge.
 -
 Click on the image to enlarge.
 -
 Click on the image to enlarge.
 -
 Click on the image to enlarge.
 -
 Click on the image to enlarge.


About the Author
Kyla Winchester is the former development officer for NCC's Ontario Region.
