Tutorial: Paper bag
-
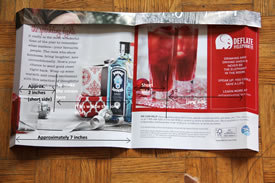
 Click on the image to enlarge.
 -
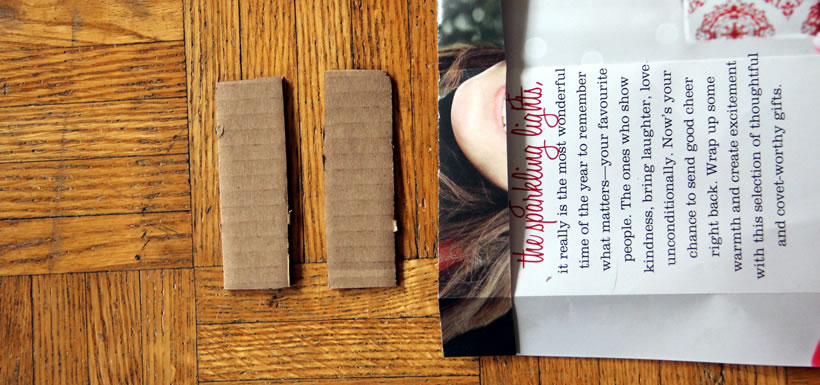
 Click on the image to enlarge.
 -
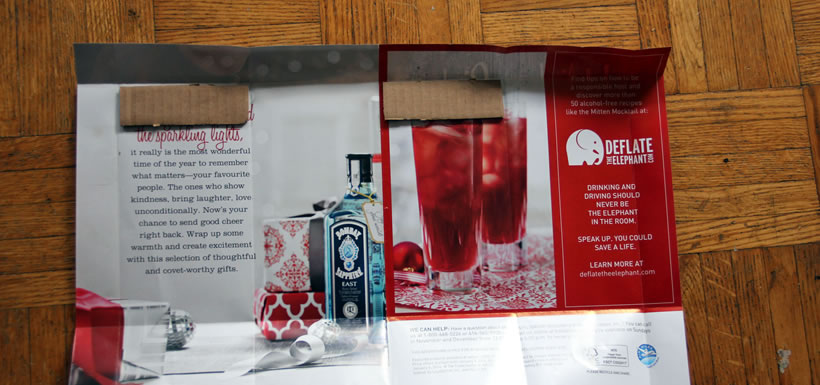
 Click on the image to enlarge.
 -
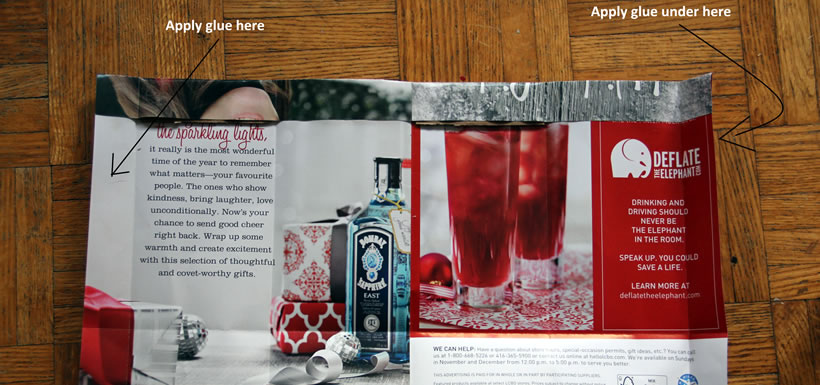
 Click on the image to enlarge.
 -
 Click on the image to enlarge.
 -
 Click on the image to enlarge.
 -
 Click on the image to enlarge.
 -
 Click on the image to enlarge.
 -
 Click on the image to enlarge.
 -
 Click on the image to enlarge.
 -
 Click on the image to enlarge.
 -
 Click on the image to enlarge.
 -
 Click on the image to enlarge.
 -
 Click on the image to enlarge.
 -
 Click on the image to enlarge.
 -
 Click on the image to enlarge.
 -
 Click on the image to enlarge.