Snowy shutterbugs: My top six tips for winter photography
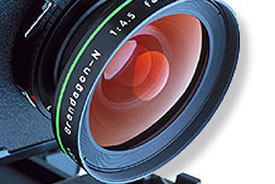
Large-format camera lens (Photo by Wikimedia Commons, Image Gallery of the Agricultural Research Service (U.S. Department of Agriculture))
Blue Mountain outside Halifax, Nova Scotia. It was late afternoon after a fresh snowfall. Like many people, I tend to keep my camera tucked away more often during winter. But the hike to the top of this granite ridge is rewarded with a panoramic view of the surrounding hills and the city of Halifax on the southern horizon. Might be a good one for the next set of my homemade Christmas cards!
Here are a few tips for shooting photographs in the snow that might get your camera out with you this winter:
- Dress warmly! We all know that (right?) but when photographing you can find yourself moving around less and generating less heat. Wear gloves or mittens that allow you to operate your camera or can be removed and put back on easily and quickly.
- If you have a camera with interchangeable lenses you may be better off heading out into the snow and cold with just a single lens that can cover the range you are most interested in. Changing lenses can be awkward in the cold and depending on the conditions you risk snow blowing into the camera.
- Make sure the battery is fully charged. Batteries have less life when the temperature is below freezing and, as above, it is no fun having to change them in the cold and snow and risk moisture entering the camera.
- Automatic exposure can be fooled by the brightness of snow and typically the camera underexposes. It’s best to adjust your exposure by plus 1 EV (Exposure Value) to get things right. Most cameras allow you to do this, with either an external knob or through menu commands.
- White Balance equalizes colours based on the lighting conditions. Snow is very reflective and can cause your camera sensor to misread the white balance. This will usually cause snow to look grey or blue. Exposing correctly helps (see 5.). But sometimes adjusting the White Balance produces better results. You can see the adjustment through in the viewing screen.
- When moving from a warm building or car out into the cold condensation may form on your camera when you remove it from its case or your pocket. It can happen again when you go back inside. Have a lens cloth handy to wipe condensation or droplets from the lens and camera.
Keep your photographic eye roving!
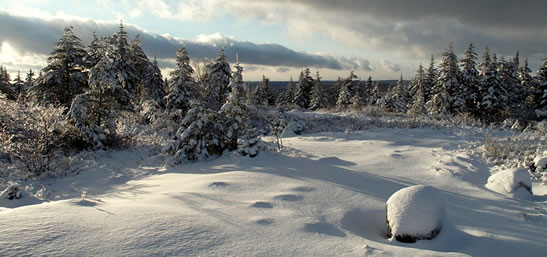
Blue Mountain, NS (Photo by Doug van Hemessen/NCC staff)

About the Author
Doug van Hemessen is the stewardship coordinator for NCC in Nova Scotia.
